Generate Animations🔗︎
Currently, animations can be generated only in Motorica Studio Editor. This section describes different workflows for generating animations.
Note
The images on this page are taken in UE 5.3. There is a slightly different UI in 5.4 but it overall functions the same.
Create Animation for Preset Path🔗︎
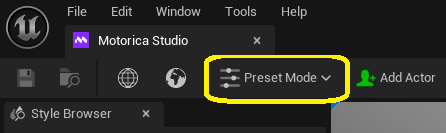
-
Enable Preset Mode
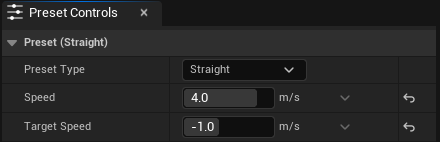
-
Choose a preset type in the Preset Controls panel and configure its parameters.
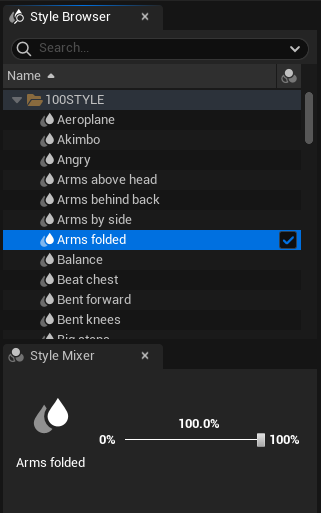
-
Select one or more styles in the Style Browser.
-
Optionally toggle Looping.
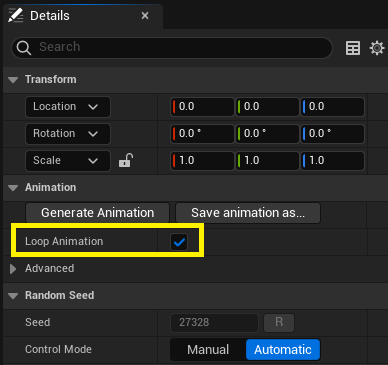
Tip
Looping works best when animations have constant speed. Avoid accelerating / decelerating motion at the edges of the animation.
-
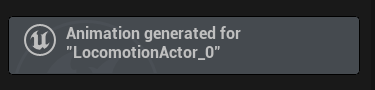
Press Generate Animation.
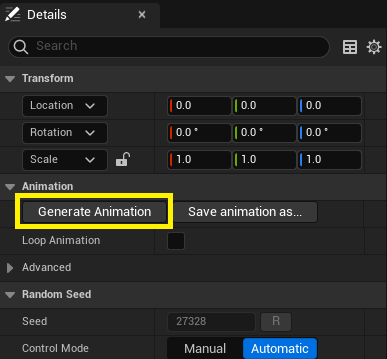
A notification will appear when the animation is ready.
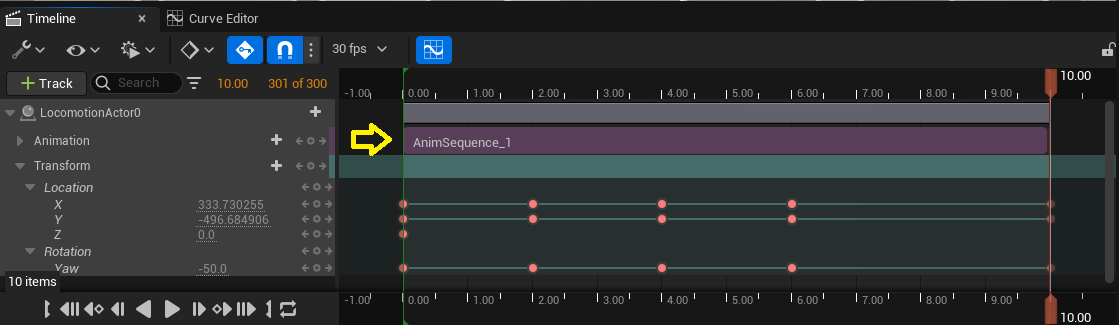
The animation will be inserted into the Animation track of the Locomotion Actor.
Create Animation for Custom Path🔗︎
-
Enable Keyframe Mode

-
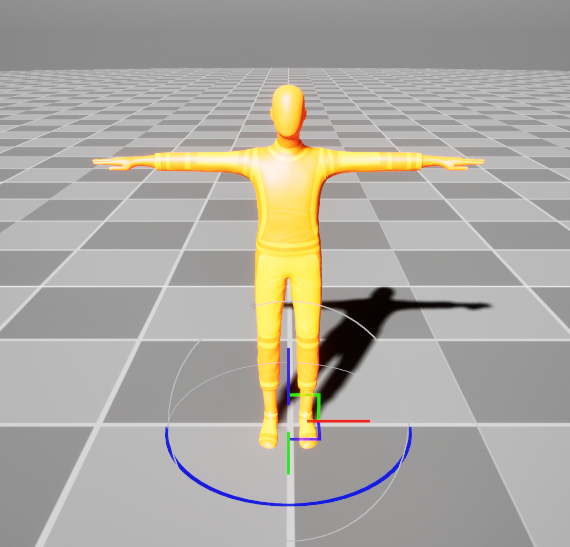
Add a Locomotion Actor to the scene.

-
Select the Actor by left-clicking it in the viewport.
-
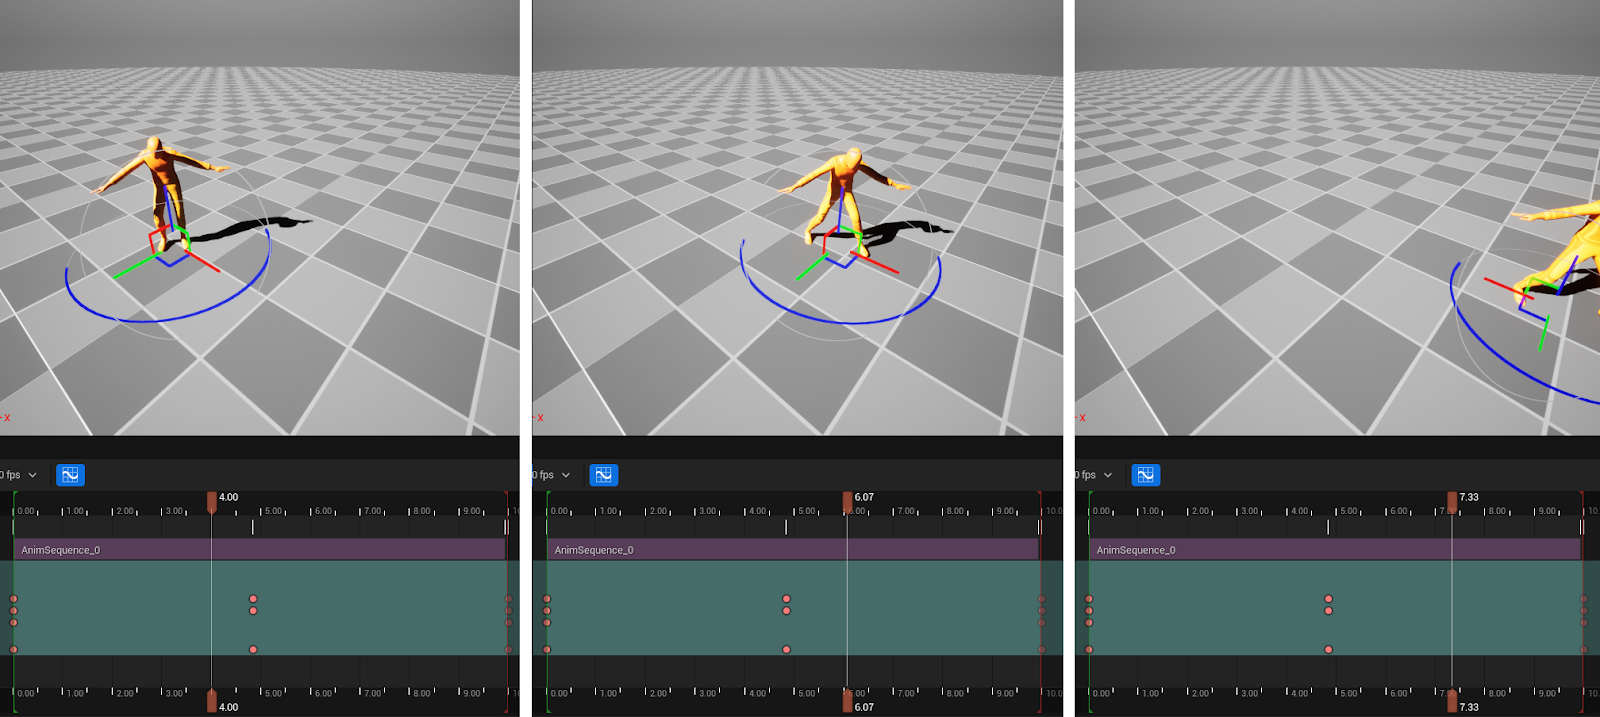
Set the current frame in the Timeline to
0.
-
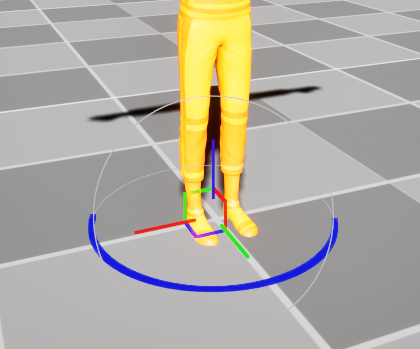
Move and rotate the Actor using the viewport gizmo.
Tip
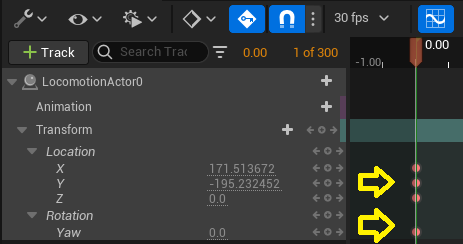
You can precisely set the values for location and rotation in the following places:
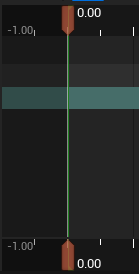
- the channel value in the Timeline track
- the channel value in Sequencer Curves
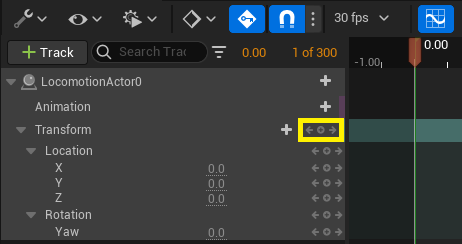
- the channel value in the Details panel under "Transform", as long as the Actor is selected
-
Set the keyframe for Location and Rotation channels.
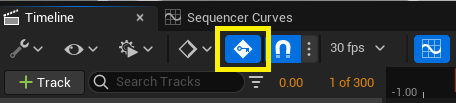
Tip
Enable "auto-key" in the Timeline to automatically create keys when you move the character with the gizmo.
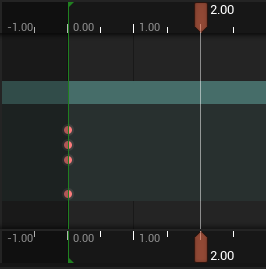
-
Move the scrubber in the Timeline to another frame.
-
Repeat steps 4 to 6 until you are ready with your path.
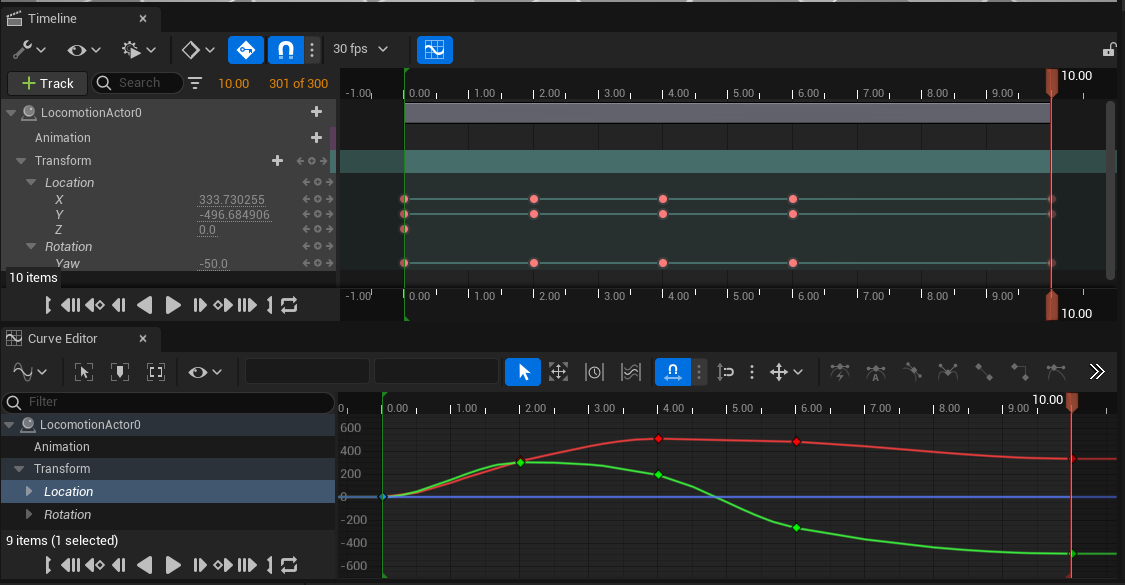
-
Select one or more styles in the Style Browser.
-
Optionally toggle Looping.
Tip
Looping works best when animations have constant speed. Avoid accelerating / decelerating motion at the edges of the animation.
-
Press Generate Animation.
A notification will appear when the animation is ready.
The animation will be inserted into the Animation track of the Locomotion Actor.
Preview Generated Animation🔗︎
Generated animations are applied to the corresponding Locomotion Actor and can be previewed in the viewport.
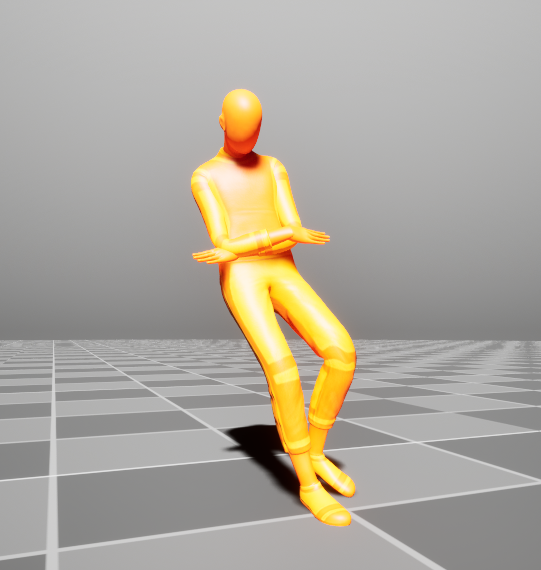
Drag the playback scrubber or press Play to preview your animation.

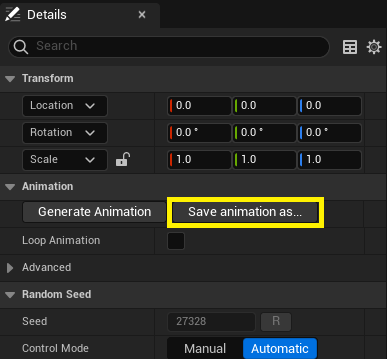
Save Animation as Animation Asset🔗︎
You can save an animation as an Animation Sequence asset to your project and use it like any other animation. To do so, press the Save Animation button in the details panel.
Note
Make sure that you have selected a locomotion actor in the viewport. Otherwise, you will not see the options in the Details panel.
A Save As dialog box will appear.
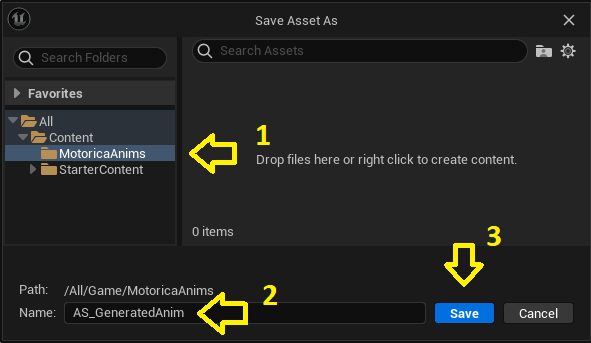
- Select a folder where you want to save the animation.
- Write the name of your animation asset.
- Press Save to save the animation in your project.
You can find the saved animation via the Content Browser.
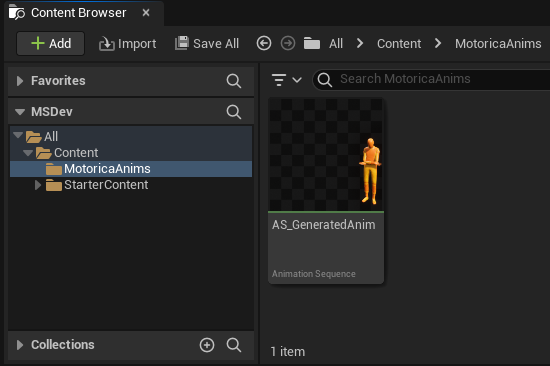
Double-click the Animation Sequence asset to preview it using the default UE Animation Editor.

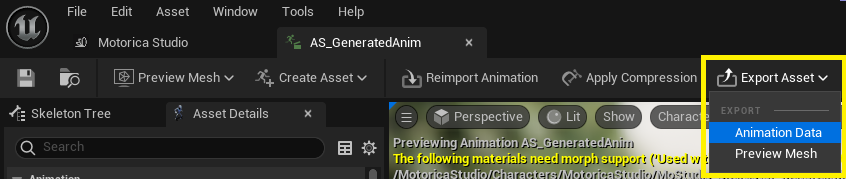
Export as FBX🔗︎
Animation Sequence assets can be exported to FBX. This is default functionality provided in the Unreal Engine Animation Editor.
To export the animation as FBX:
-
Double-click on the
Animation Asset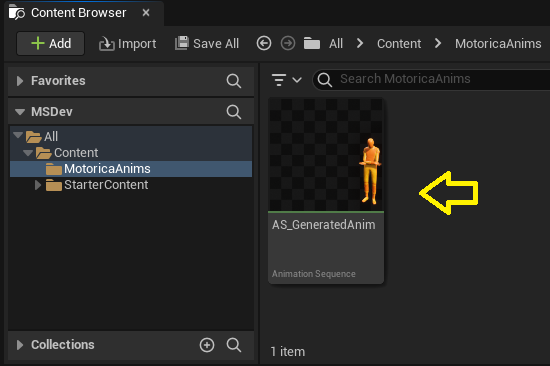
-
Click Export Asset > Animation Data and export using the default settings.